Sunday 26 May 2013

Mini League: Game Day 10 - Dave vs Hyiktsay


2nd battle of the day and final game of the mini league witness the Hyiktsay's KM taking on the Dave' USN fleet.

Dice roll off concluded into "kill the flagship" scenario with USN as the attacking force. 

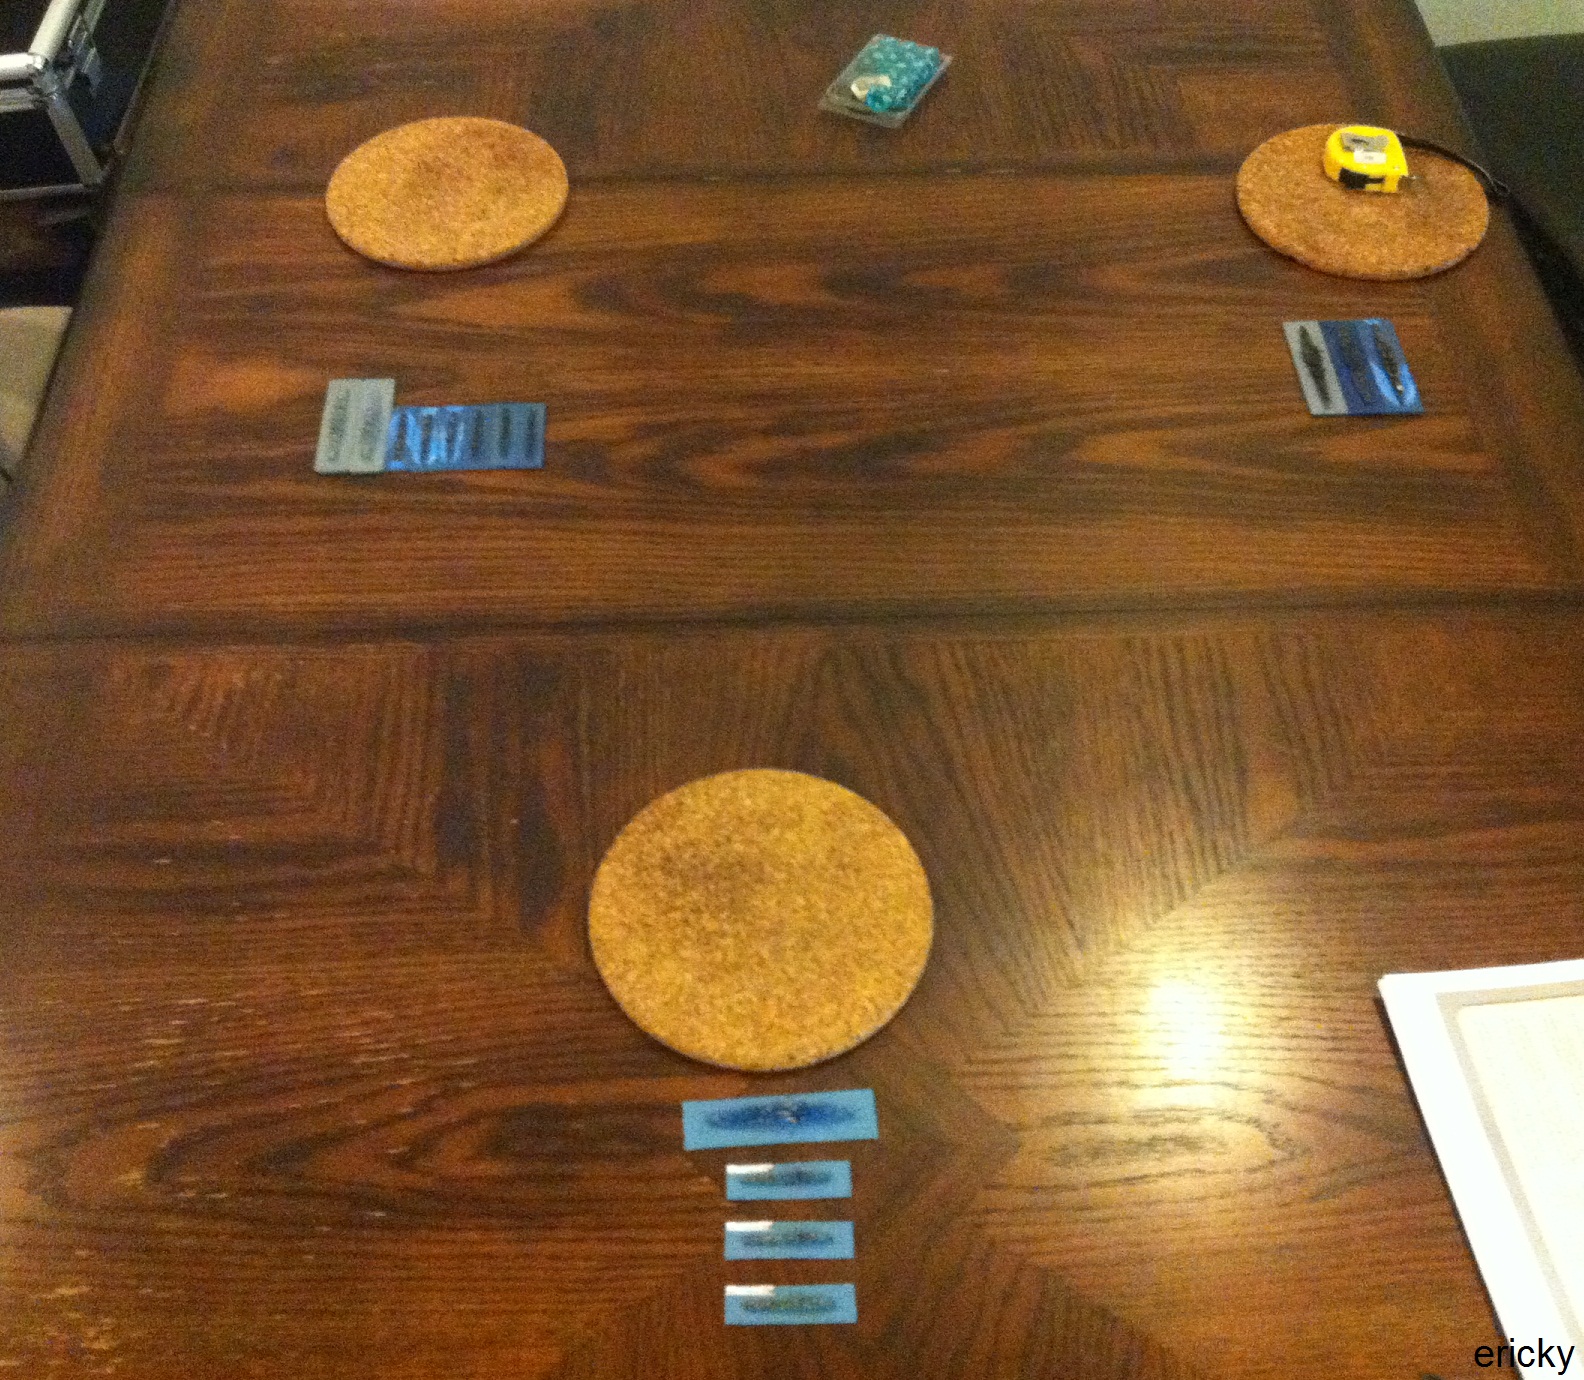
Apologies for the messy table as we were discussing and assembling some of the  Micro Armor which arrived couple of days back.

Combatant: USN – Dave
CA Portland
DD O’Brien
DD Anderson
DD Hughes
Combatant: German
CA Prinz Eugen - Flagship
CA Admiral Hipper
CA Blucher
CA Lutzow
CL Koln
DD 5 - Z31, Z32, Z33, Z34 and Z37

Deployment, Air Strike & Submarine Attack
Kriegsmarine deployment
With its initiative towards this battle, USN placed 2 landmasses at each end of the battle area.

With the submarine attacks underway, KM fleet managed to intercept 2 USN's submarines. The remaining USN submarines only saw a non-penetration hit recorded on CA Lutzow.
USN deployment
Over at the USN side, the fleet managed to intercept 3 KM's submarines. Resulting attack saw the destruction of DD Hughes.

Having 6 torpedo bombers intercepted, USN air forces still managed to hit and causing flooding towards CA Lutzow.

Subsequent to the dive bombers strike witnessed the sinking of Z37 and causing fire on-board CA Hipper; contained on check.

Turn 1
Kriegsmarine (bottom) moving towards USN (top)
Being the defender in this battle, KM have to plot its way towards the USN forces at the other end of the battle area, a long and disastrous journey.  

Both fleet called in their 2nd submarine strike, having KM's submarines missing all their targets.

USN's submarine, however, found their mark and caused flooding and fire onto CA Blutcher and CA Admiral Hipper respectively. 

Turn 2 to Turn 4
KM warships spent 3 turns plotting and maneuvering towards USN's warships location; situated nicely behind the safety of landmass. 

As the KM warship approaches, CA Portland managed to deal several hits and causing superstructure damages along the way. 

Turn 5

This turn saw the sinking of CA Lutzow to the abyss from CA Portland gun fire; all the time remaining behind landmass.

Turn 6
Kriegsmarine warships split into 2 flanks
Destruction to KM fleet continues with CA Admiral Hipper knocked out of commission, coming yet again from CA Portland.

Turn 7
USN coming out of landmass cover
With KM lighter warships approaching USN's left flank, they moved out of the landmass and engaged with KM's heavy cruisers at their right flank.

Resulting gun battle saw DD O'Brien meeting it's end. 

USN warships were able to launch 2 torpedoes during this turn; however, none met their marks.

Turn 8
Albeit being close to KM's flagship, USN continued its hunt on CA Blutcher
With USN warships moved out of cover, KM's lighter warship group forced to make a U-turn.

Despite being in close proximity with KM flagship, USN commander ordered its warships to hunt CA Blutcher instead. 

At this range, DD Anderson stood no chance of survival as CA Prinz Eugen's main guns tore it apart. 

A total of 8 torpedoes were launched during this turn, 7 coming from KM warships, none made it to their targets. 

Turn 9
Surrounded finale
With its flagship surrounded by KM warships, USN continued its bombardment towards CA Blutcher and ultimately sinking it.

Having already sustained numerous damages, CA Portland met it demise.

With the last shot fired, comes the end of the mini league.

As it only seems fit - the 1st battle of the league lasted only 30 minutes and ended with an epic battle - both involving Dave's fleet.

Stay tune for Season 2.

Mini League: Game Day 10 - Dave vs Eric Lew


Final game day of the mini league saw 2 battles involving Dave's USN setup. First stop was the battle against IJN forces led by Eric Lew.

With the dice roll off - pitch battle was selected and having IJN as the attacking fleet.

Game played at Dave’s place.

Combatant: USN – Dave
CA Portland
DD O’Brien
DD Anderson
DD Hughes
Combatant: IJN
CA Maya – Flagship
CA Mogami
CA Mikuma
CL Agano
CL Noshiro
DD 6 – Akitsuki, Fuyutsuki, Hanatsuki, Harutsuki, Hatsusuki and Natsuzuki.

Deployment, Air Strike & Submarine Attack
Setup: IJN (top) and USN (Bottom)
Surprise efficiency in IJN's anti-submarine warfare team saw a complete intercept of all USN submarines in this pre-battle engagement.

Over at the other end, none of IJN's submarines were intercepted, allowing IJN forces an additional salvo.

The resulting engagement saw USN's DD O'Brien destroyed.

IJN's surprise efficiency in anti-submarine did not spill over towards it's anti-aircraft team as they managed to knock down 4 torpedo bombers.

Subsequent air strike saw direct hits to CA Mikuma and CL Agano, causing fire and flooding on-board the warships respectively.

Turn 1
IJN moving towards the bottom with USN remaining in its location
USN forces conducted their 2nd submarine strike, only to be completely intercepted by the IJN’s efficient anti-submarine warfare crew.

IJN plotted it's warship stern ahead directing its forces towards USN location; remained in their starting position and having CA Portland launching its recon planes. 

Gun shots soon traded between the 2 forces recording some damages on both fleet.

Turn 2
IJN continued its advancement and is within lethal distance.
As IJN continued its advancement, the resulting gun battle saw the destruction of DD Anderson. 

CA Portland continued its bombardment from all direction causing significant crippling damages to both CL Noshiro and CA Mikuma. DD Akitsuki was not spared from the gun fire, taking significant damages from both USN DDs

Turn 3 

IJN ordered in its 2nd submarine strike, having non intercepted, found their targets. 

DD Hughes was sank on the spot while causing uncontrollable flooding towards CA Portland which lead to its ultimate demise.

A win for the IJN forces having no warship destroyed in this engagement. 

Wednesday 22 May 2013

Mini League: Game Day 9 - Heng vs YS Oon


Game day 9 showdown saw the Kriegmarine of Hyiktsay against YS Oon's Royal Navy. 

As it only seem fit, "kill the flagship" scenario was chosen and having Hyiktsay as the attacking force.

Somehow or another, it became Kill The Lutzow instead

Combatant: German
CA Prinz Eugen - Flagship
CA Admiral Hipper
CA Blucher
CA Lutzow
CL Koln
DD 5 - Z31, Z32, Z33, Z34 and Z37
Combatant: British
HMS Kent - Flagship
HMS Berwick
HMS Cumberland
HMS Leander
HMS Glouchester
HMS Liverpool
HMS Manchester
HMS Edinburgh
HMS Belfast
HMS Zulu
HMS Cossack
HMS Eskimo
HMS Jaguar
HMS Jackal
HMS Nepal
HMS Scorpion
HMS Shark
HMS Wizard

Deployment, Air Strike & Submarine Attack
British Deployment
The British fleet deployed a more traditional strategy having all ships in the same line - all ships broadside facing the Kriegmarine.
KM Deployment
The German on the other hand, divided its fleet into 2 group, having the heavy cruisers at the back and placing its lighter ships upfront covered by the landmass.
Overview
The German launched their submarine attacks and having 3 of it intercepted by British fleet. All remaining submarine missed their targets.

Turn 1
Turn 1 KM
The British fleet inches forwards and remained in formation while having its destroyers deploying smokes.

The German heavy cruisers remained fairly in their position, maintaining their superior range advantage. It's lighter warships plotted their advancement while positioning behind landmass cover.
Turn 1 British with its destroyers laying smoke
Superior range advantage saw HMS Jaguar sank by German gun fire.

Over at British side, numerous gun advantage proved ineffective mainly due to extreme range and it's guns missing the targets. 

Targets = CA Lutzow

Turn 2

The German lighter warships have peeked thru the landmass in full view of the British cruisers. On the other hand, British destroyers plotted their way astern to safely behind its cruisers.

Resulting gun battle saw Z33 destroyed. 

Among other damages saw CA Koln sustained heavy damages.

Turn 3

British fleet continued their advancement while maintaining their line formation with German destroyers charging in to no avail.

The end result of such action saw all remaining 4 German destroyers and CA Koln perished to the abyss while the British suffered the destruction of HMS Eskimo. 

4 German torpedoes were launched - none were able to reach their targets.

Turn 4
View from British fleet
Only having German cruisers left in the battle, British fleet continued their advancement. Shots were fired to no avail attributing to extreme range issues. 

CA Lutzow still unscattered

No casualties recorded from both side.

Turn 5
Landmass forced the British fleet to split into 2 flanks
German called in their 2nd submarine attacks and only noteworthy hit recorded on HMS Cumberland - causing flooding and subsequently contained - much to the despair of German forces. 

By now, German fleet is at the right edge of their starting point and decided to flee 3 of its cruiser from battle. Remained behind was CA Lutzow - coming short on movement points.

As British forces closes in the gap, long range shots pounded CA Lutzow, dealing some damages.

Turn 6
View from CA Lutzow
With nothing else to fight for, CA Lutzow retreats to the horizon.