Game day of the Komandaski Island historical
battle between USN and IJN forces, played at Gladius Games – our local friendly
gaming shop.
 |
| The umpire - YS Oon |
 |
| Damon checking out the USN stat cards |
Players were divided among the two factions
and mission briefing were announced by the umpire; YS Oon.
The Admirals involved were:
The Admirals involved were:
USN – Damon (ex-USN serviceman) and Eric Lew
IJN – Dr Chua and Shah (the proprietor)
 |
| Shah and Dr Chua in deep thoughts |
The warships were deployed in their respective area as per the mission brief and the details of the historical re-fight was explained by YS Oon.
 |
| Overall setup and formation |
Turn1
Both fleets began their entry into the battle
at their respective starting locations. The USN employed a screening formation
using their DDs while IJN en-massed their warships while deploying their
transport group away from the main warships.
Turn 2
 |
| Turn 2 |
USN
Incoming Transmission:
Get to
the IJN convoy group~~!!
USN cruisers chose to launch all their
available recon planes while having their 2 DDs on a screening formation while
the remainder 2 DDs headed towards the IJN known convoy group.
 |
| USN at Turn 2 |
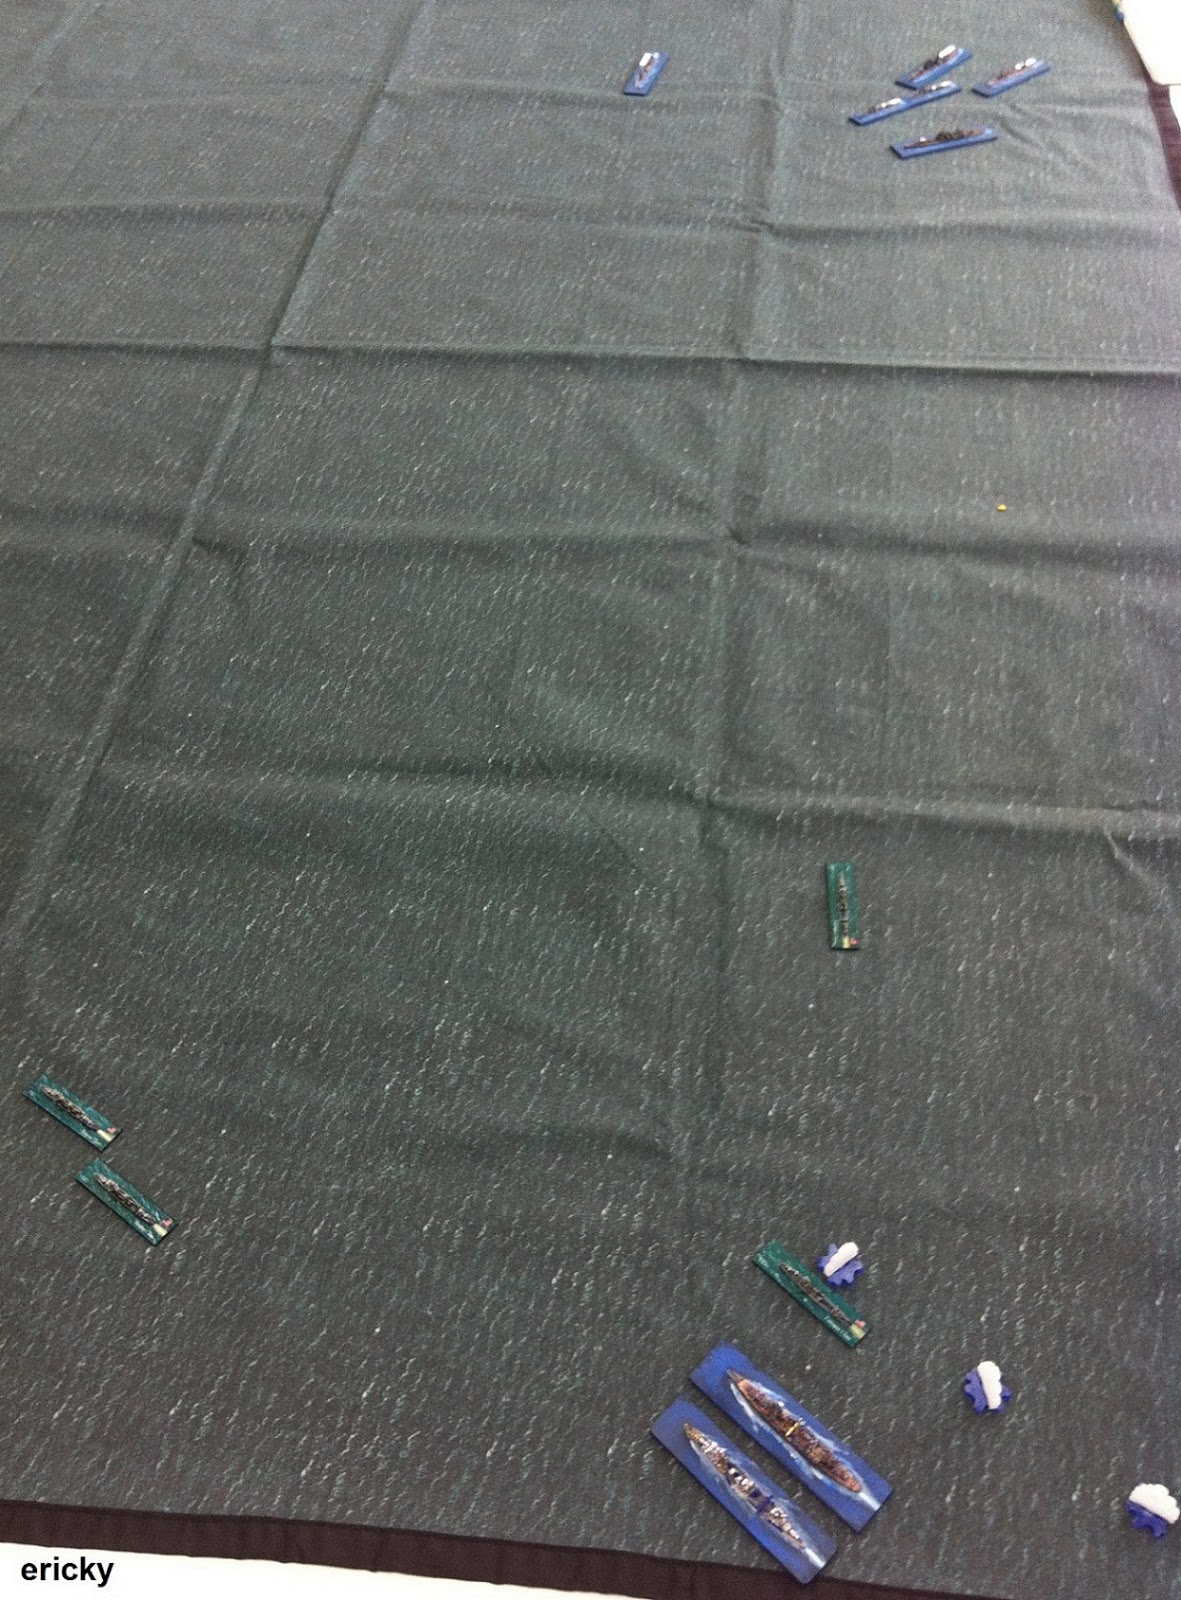
IJN continued to advance towards USN formation with CA Maya firing its gun from
an extreme range; all missing their marks.
Turn 3
 |
| Turn 3 |
IJN
Incoming Transmission:
Protect
the convoy group. All CA and CL regroup and head towards the convoy.
Both fleet continued their advancement with 2
of USN DDs still providing smoke screens to counter the advancing IJN warships.
Unknown to USN admirals, IJN warships were
heading towards the convoy group area, en-massed, while continuously firing
from an extreme range of no effect.
Turn 4
 |
| Turn 4 |
By this turn, both fleets had entered into a
fairly comfortable long range firing distance. Gun battle soon erupted,
however, no damage reported on both sides.
Turn 5
 |
| Turn 5 |
Fighter
planes spotted - withdraw northwest and maintain formation.
As both fleets maintained their gun
engagement, first recorded damage was claimed by USN with shots coming from CA
Salt Lake City aimed towards CL Abukuma; dealing 10 dmg and causing fire on
board.
Turn 6
 |
| Turn 6 |
CA Salt Lake City continued its bombardment claiming
the first blood as CL Abukuma took a severe beating; taking in both fire and
flooding - subsequently sinking it in the process.
CL Richmond was also on target as it manages to sink DD Wakaba with ease.
IJN responded with their guns to no avail.
Turn 7
 |
| Turn 7 |
USN
Incoming Transmission:
Preserve
our ships, keep 50% alive.
After taking out one of the IJN's CL, CA Salt
Lake City honed it's guns towards CL Tama and records significant critical
damages. Among them engine damage, rudder and a turret destroyed.
In a twist of event, CA Maya managed to tear
into CA Salt Lake City and among its shots caused a severe list; reducing CA
Salt Lake City's battle effectiveness and will plagued the ship the entire
engagement.
USN 2 screening DDs by this turn had advanced to a considerable proximity with IJN's warship, close enough for DD Dale to launched its torpedoes towards CL Tama and it's gun aimed at DD Hatsushimo - destroying both in the process.
IJN responded with the destruction of DD Monaghan with shots coming from DD Hatsushimo - recording an IJN first kill.
Turn 8
 |
| Turn 8 |
By this turn, USN’s 2 outer DDs had close
into on both IJN's heavy cruisers in an attempt to encircle the IJN. This
proved to be a futile effort as CA Maya laid waste onto DD Bailey and DD
Coghlan - right after both DDs managed to launched their torpedoes. Although
both DDs were destroyed in this engagement, their torpedoes found their mark and
brought CA Maya to the abyss.
 |
| Torpedoes launched at Turn 8 |
CA Nachi, which did not see much action till this point, managed to honed it's
gun towards DD Dale; sinking it with minimal effort.
Turn 9
 |
| Turn 9 |
As part of the mission briefing, USN was
forced to withdraw from the battle after suffering more than 50% casualty,
withdrawal was ensured. Seeing this, CA Nachi gave chase.
Turn 10
 |
| Turn 10 |
Incoming
IJN Transmission:
Rescue
the survivors.
With some IJN survivors remained on their
wreck warships, orders from high command had tasked their transport group DDs
to rescue all survivors. With the USN on a withdrawal, the rescue was easy.
The withdrawal proved to be a challenge for
CA Salt Lake City as its severe list provided an opportunity for CA Nachi to
close in the gap and lay it's gun onto it.
Turn 11 – 14
 |
| Turn 11 |
The chase continued with CA Nachi dealing
several critical hits on CA Salt Lake City - flooding and engine damage - adding
towards a crippling warship on an escape.
 |
| Turn 13 |
To add salt into its wound, incoming USN
transmission ordered the warships to take evasive maneuver as potential IJN
submarines were spotted at their withdrawal direction – nailing the fate of CA Salt Lake City.
 |
| Turn 14 |
CL Richmond provided some screening, however, as the flagship, its role was
minimal, enough to deal some damaged towards CA Nachi
Turn 15
 |
| Turn 15 |
Regroup,
USN reinforcement could be nearby.
With incoming orders of probable USN warships
and planes as reinforcement, IJN was told to regroup and withdraw – provided
some breathing room to the USN.
However, critical damages recorded onto CA Salt Lake City were so severe that it was sunk en-route to safety; attributing to the continuous flooding on board.
The historical refight of Komandaski Island ended at Turn 15 with the final tally from objectives and warships destroyed stand at:
USN -
1213 VP
IJN -
1234 VP
A great fight all the way towards the end and concluded in a Tactical Draw for both fleets.

